Instructions
1. Open your page in the editor
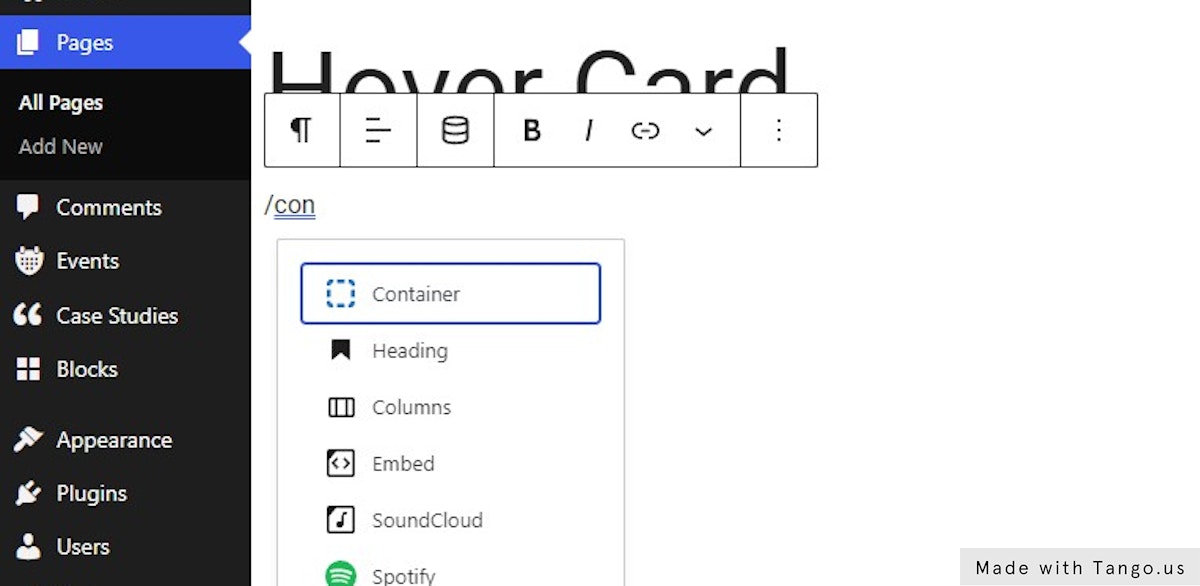
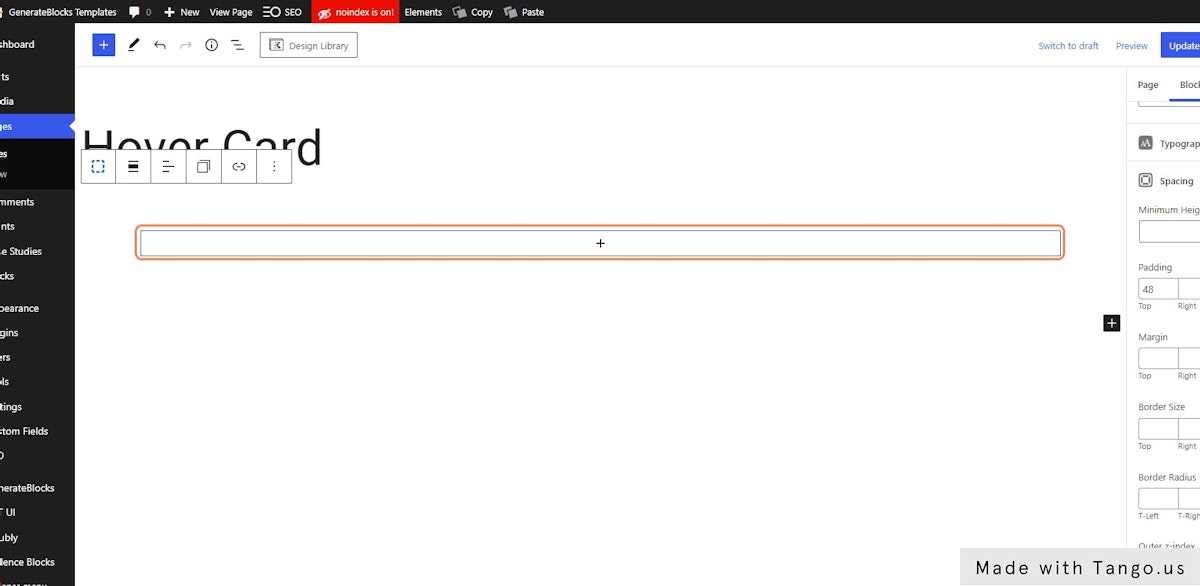
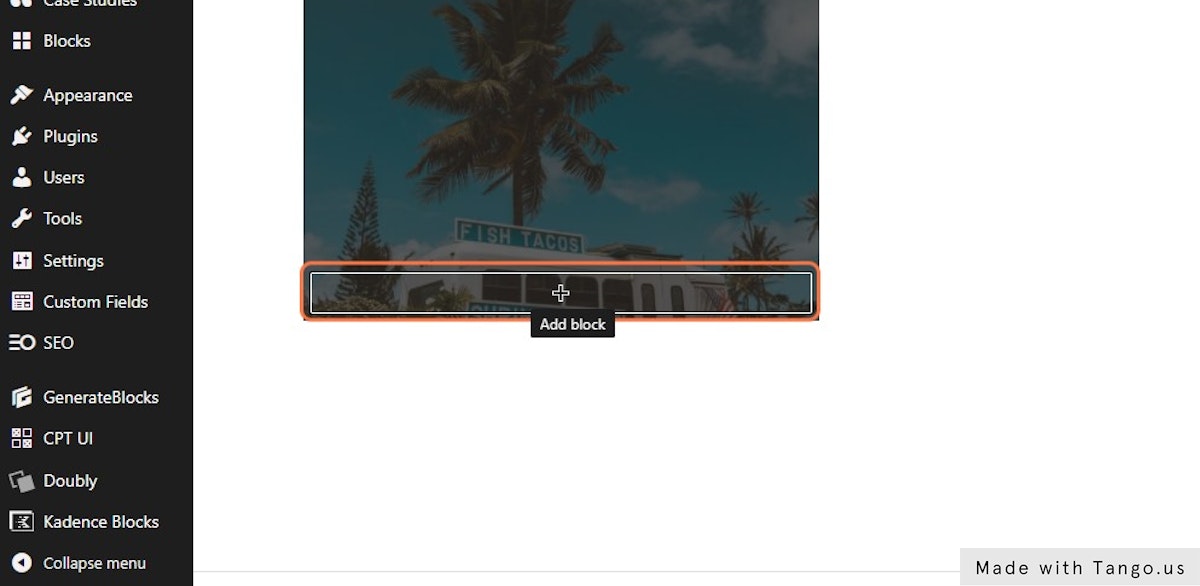
2. Click to add a new block

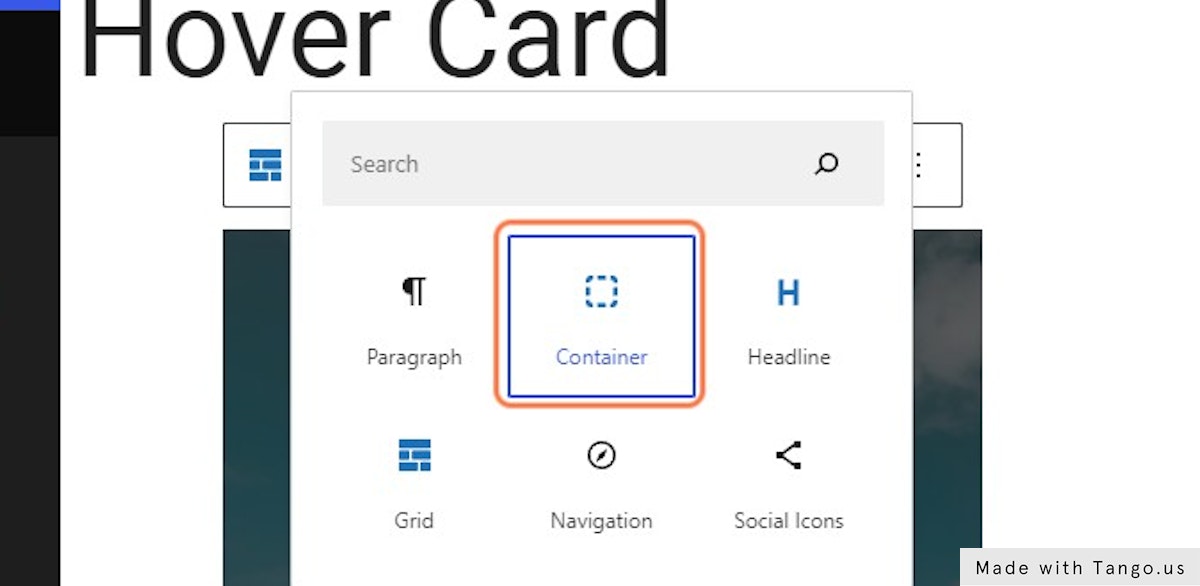
3. Choose Container
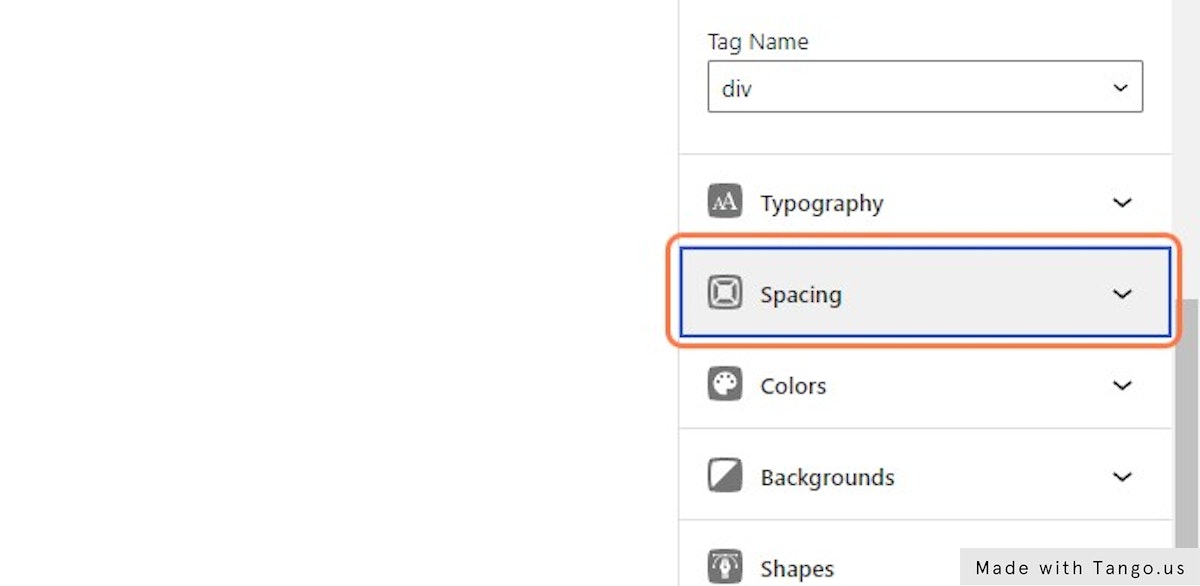
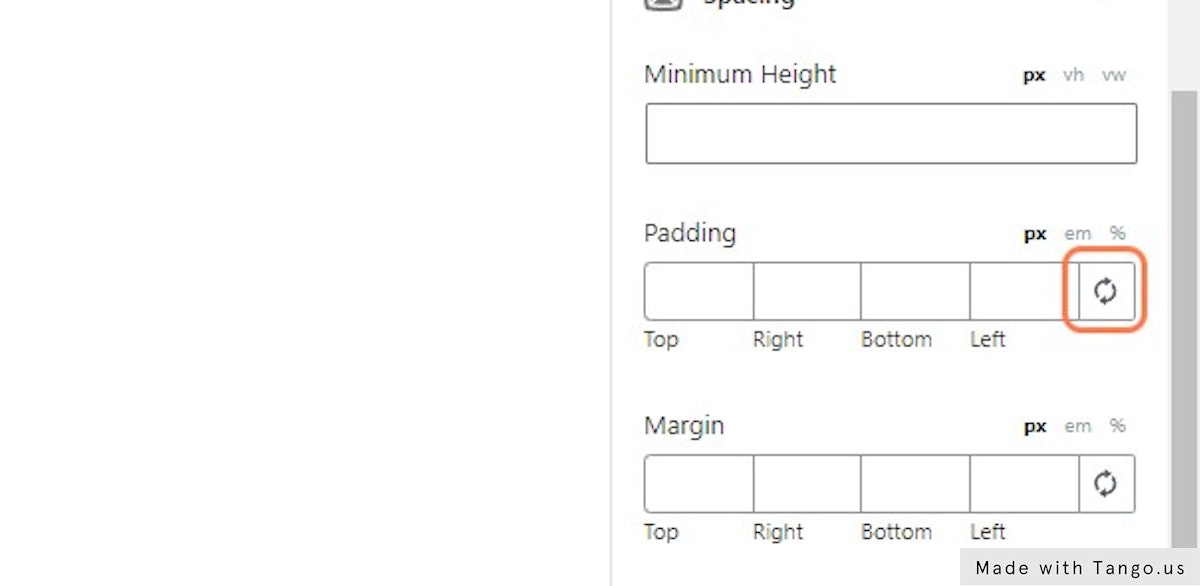
4. Click on Spacing
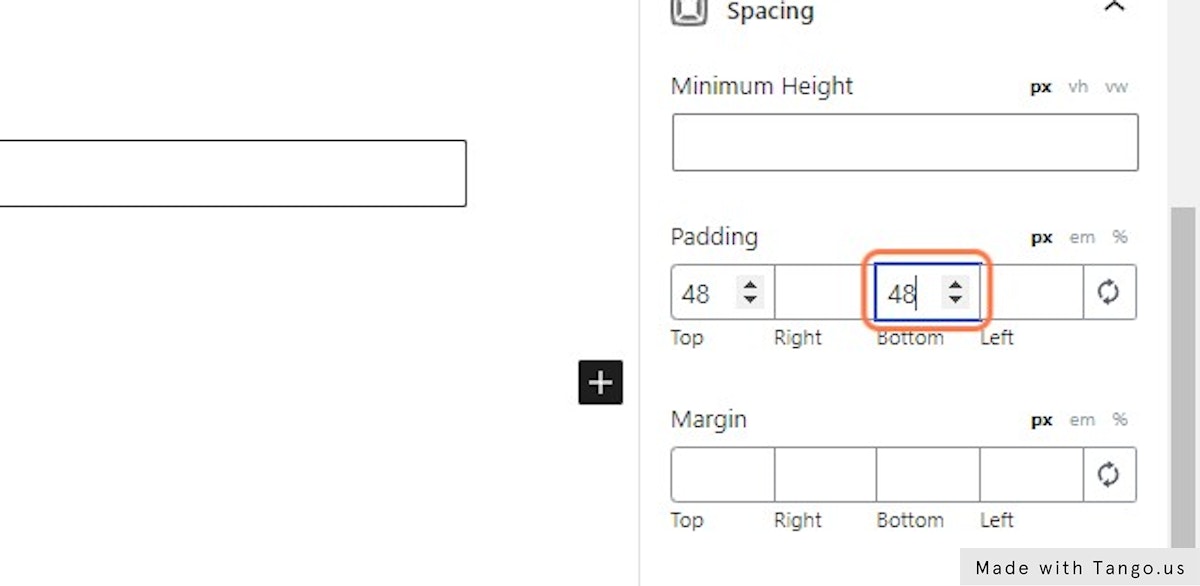
5. Add some padding
This is optional, but necessary for the demo so we can have a little breathing room.
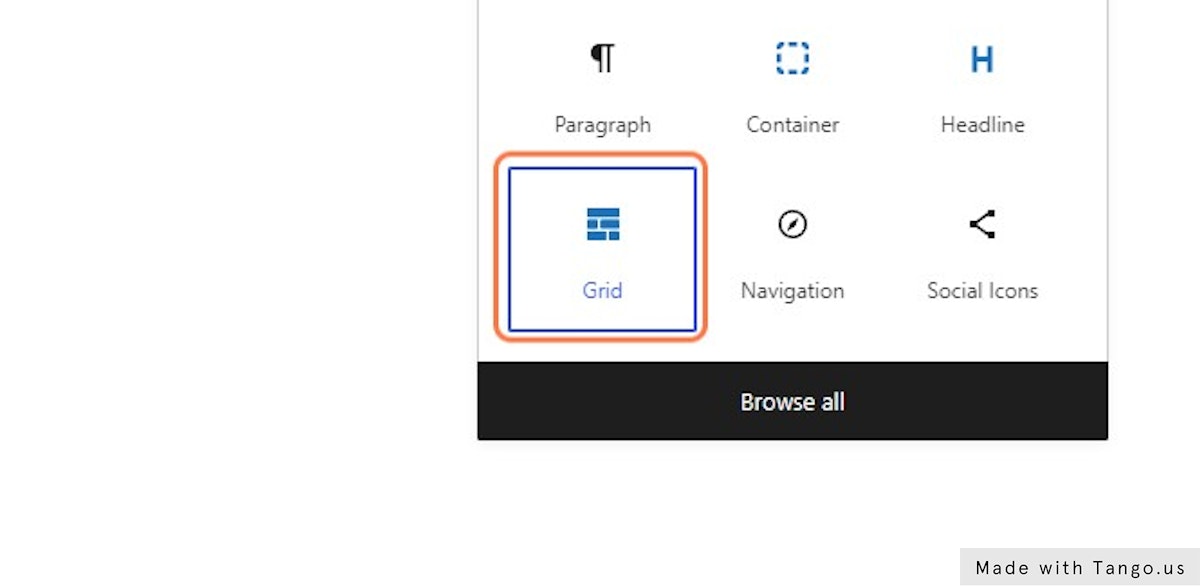
6. Click on Add block
7. Click on Grid
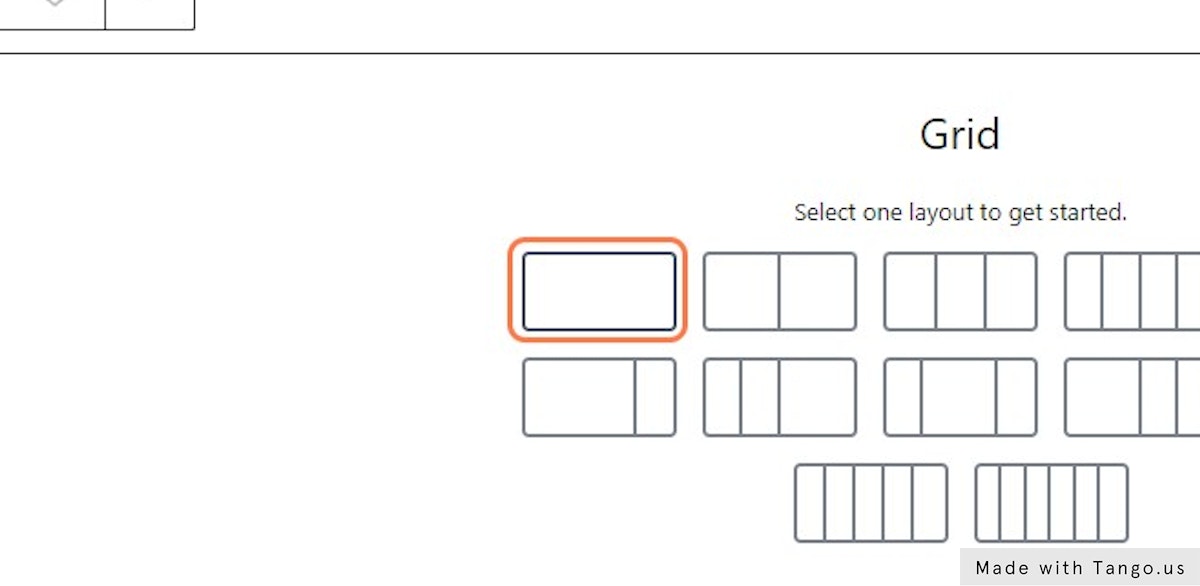
8. Choose 1 column
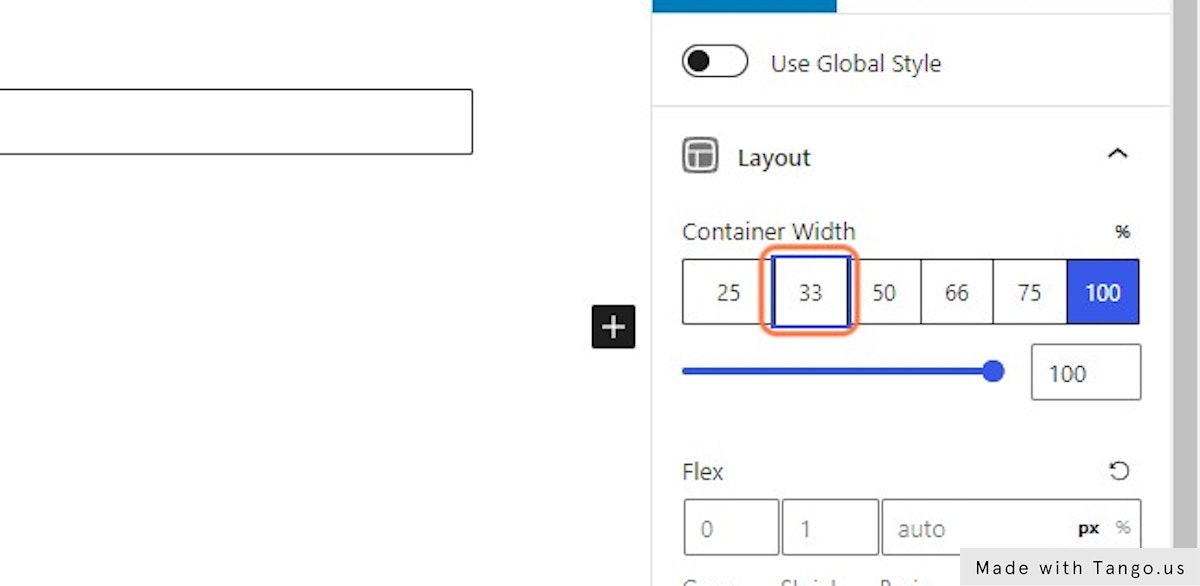
9. Select the container in your grid
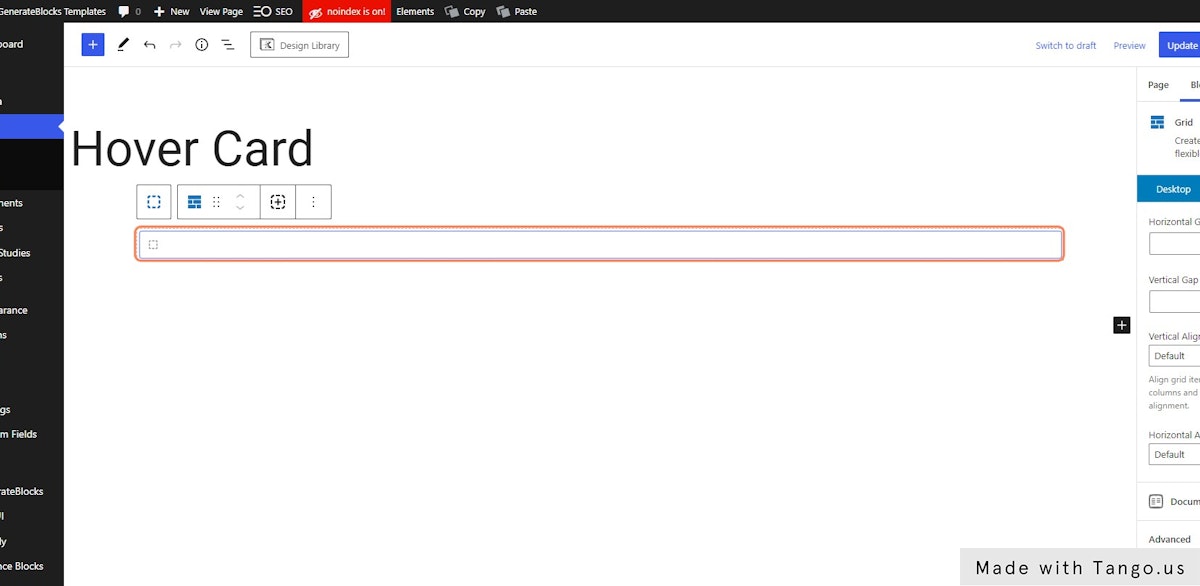
10. Change the container width to 33%
Any width will do, but this demo is setup for a 3-column grid
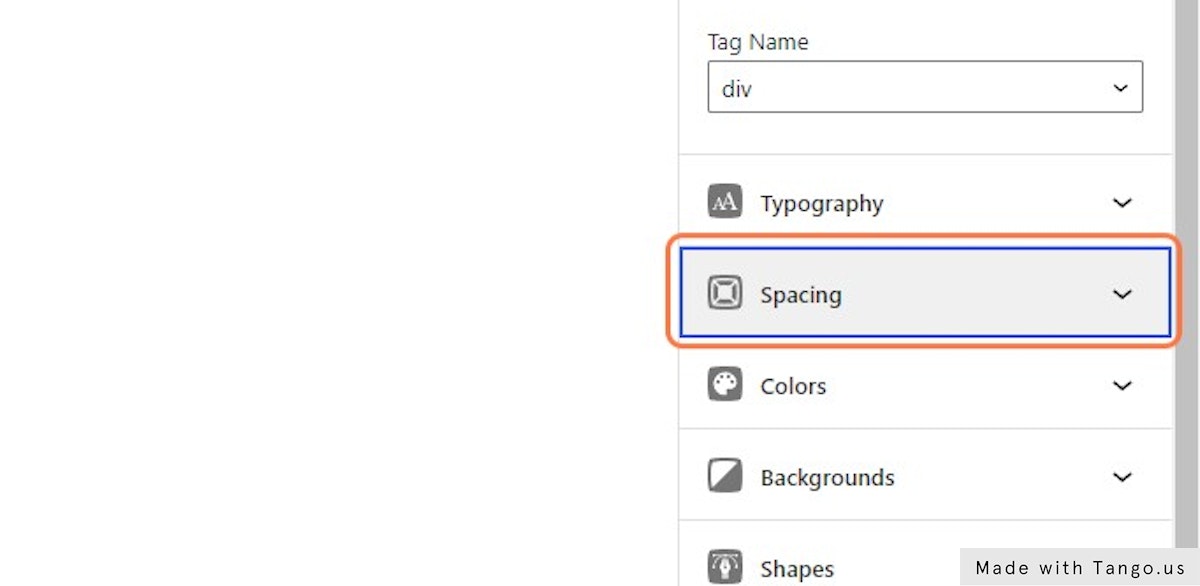
11. Click on Advanced
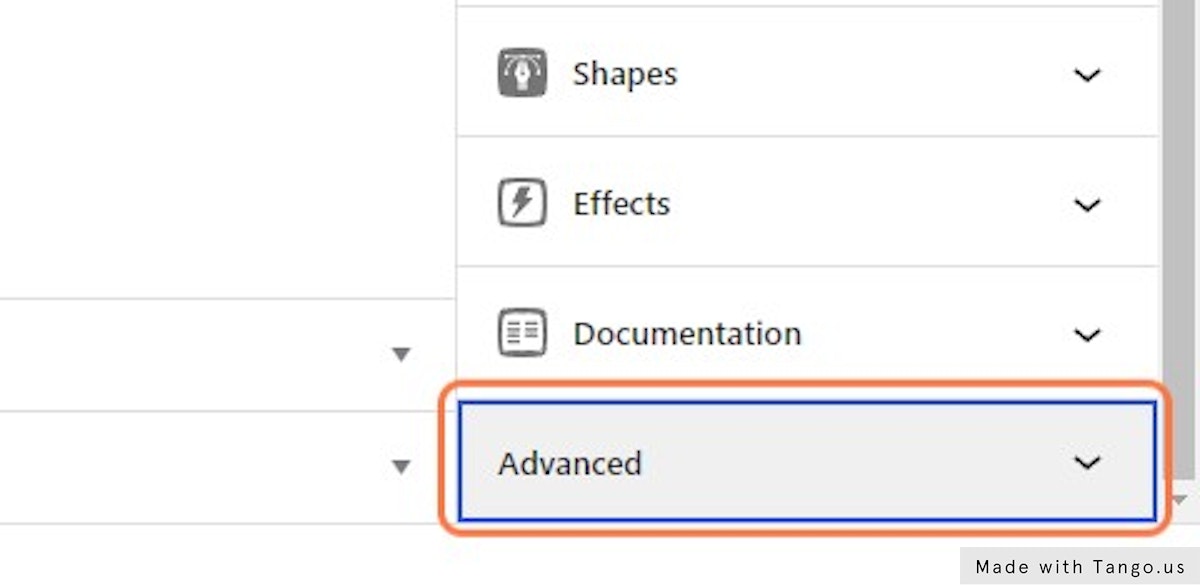
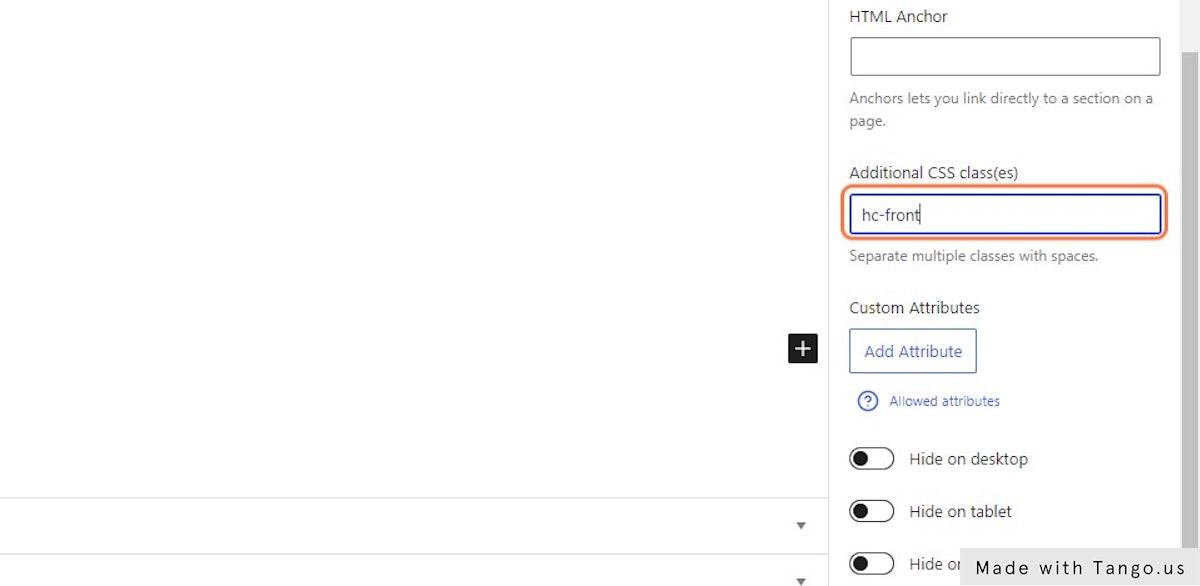
12. Add the class “hc-back”

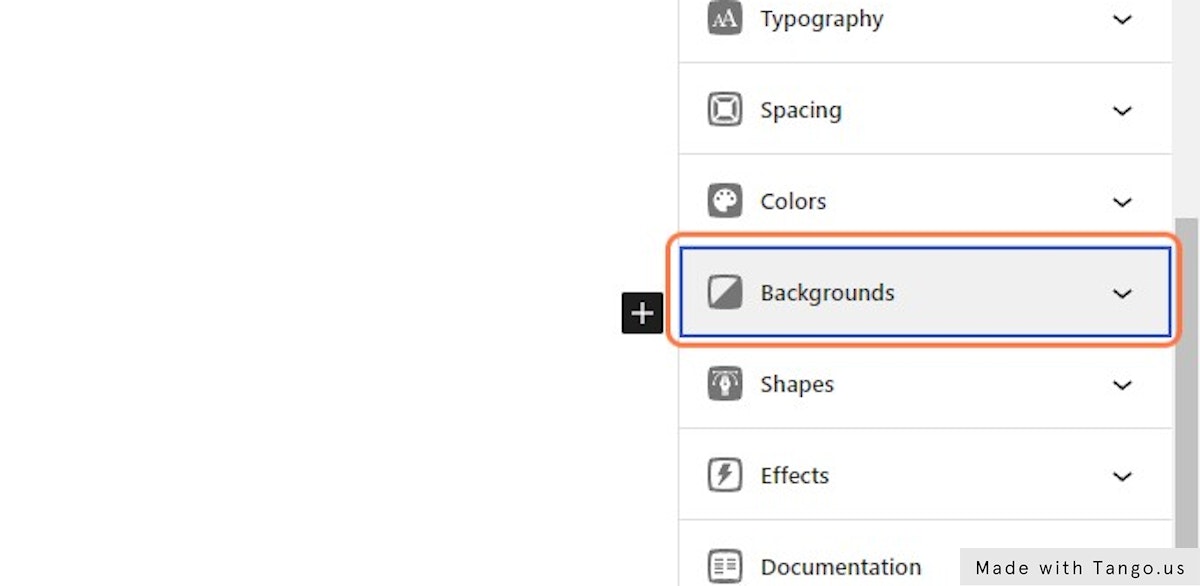
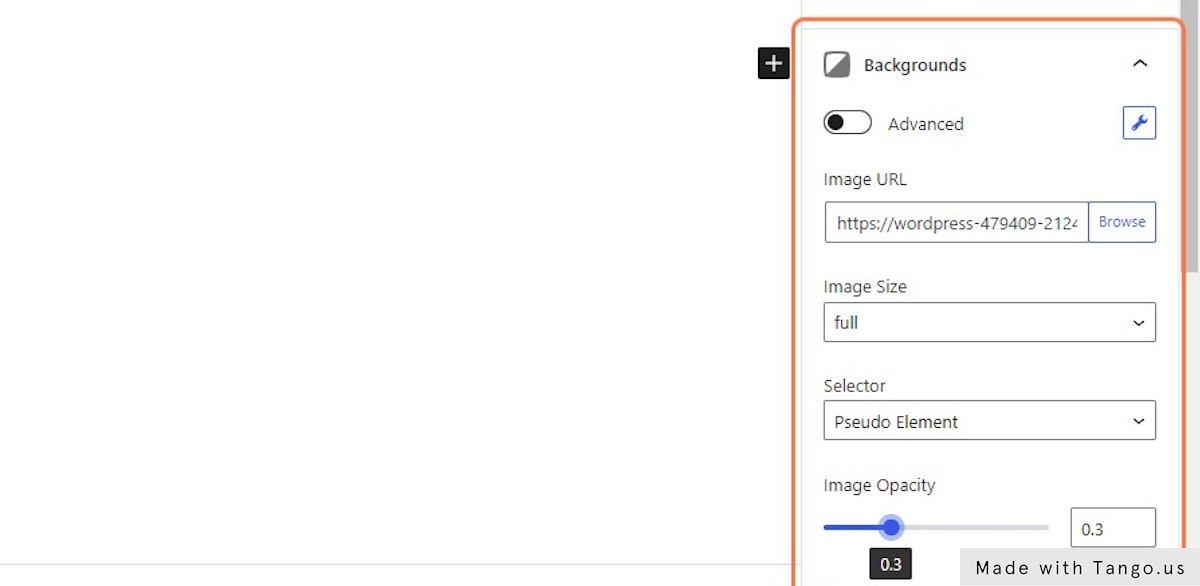
13. Click on Backgrounds
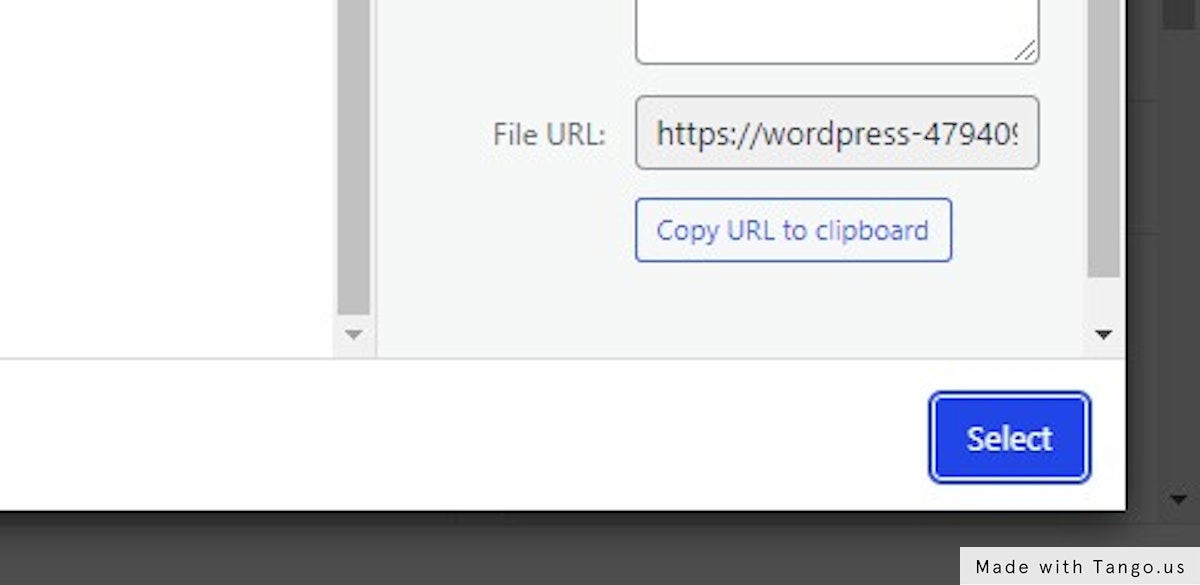
14. Click on Browse
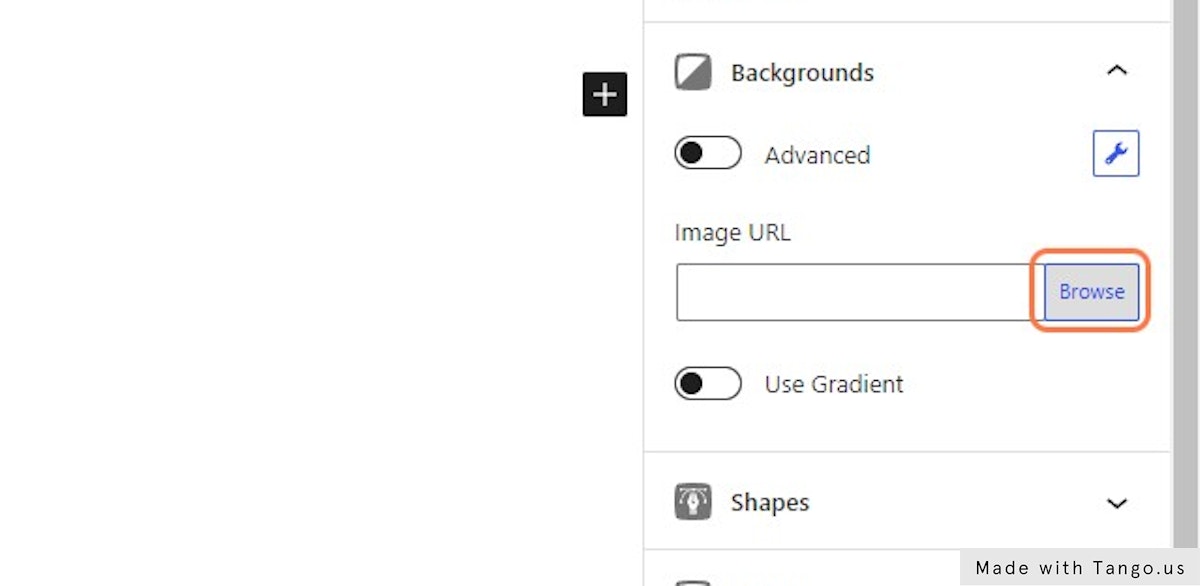
15. Choose your background image

16. Click on Select
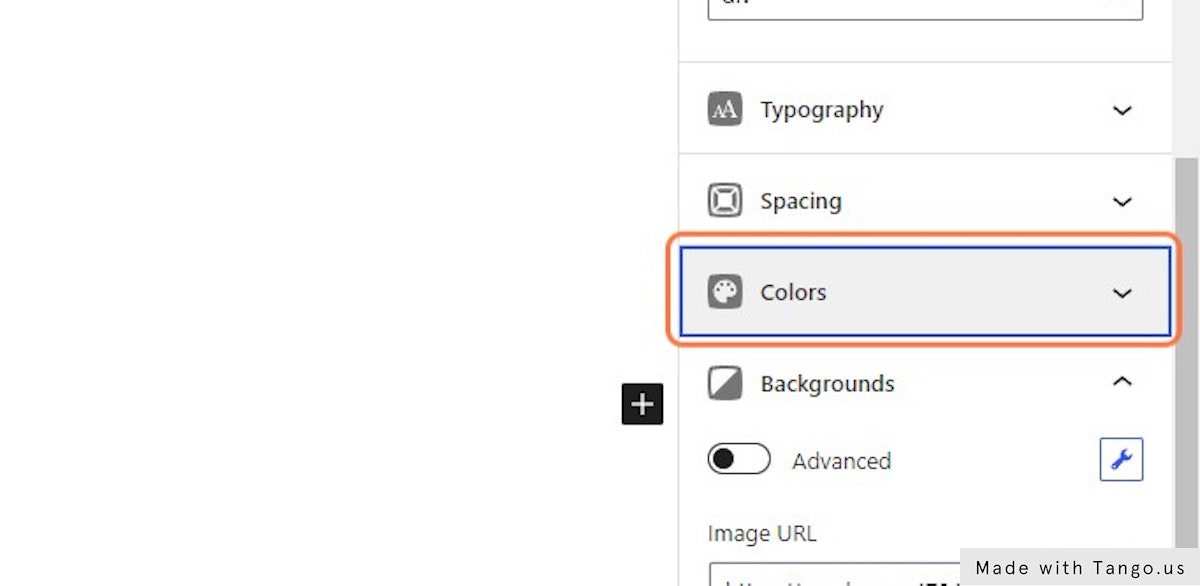
17. Click on Colors
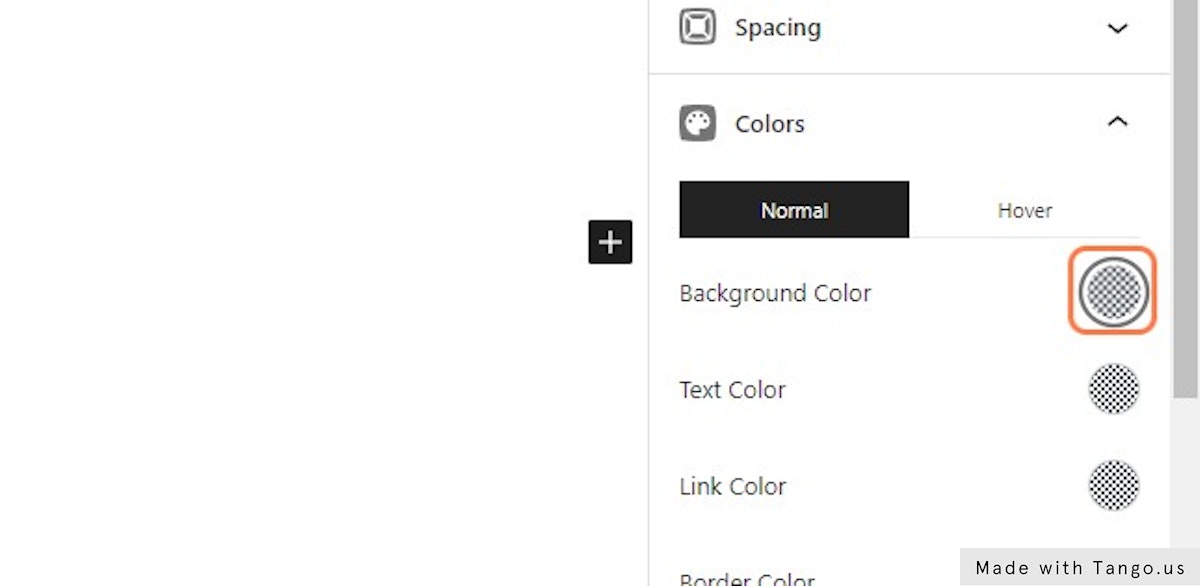
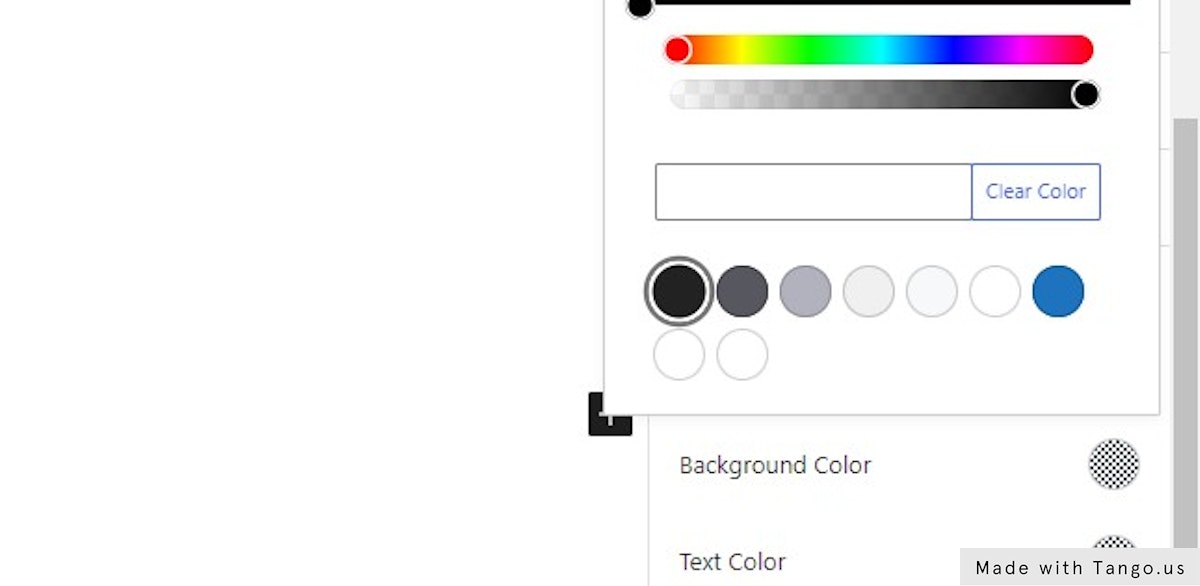
18. Click on the background color
19. Choose a dark color for an overlay
20. Change the opacity of your background image
.2 to .4 usually works well, but this may vary depending on your image
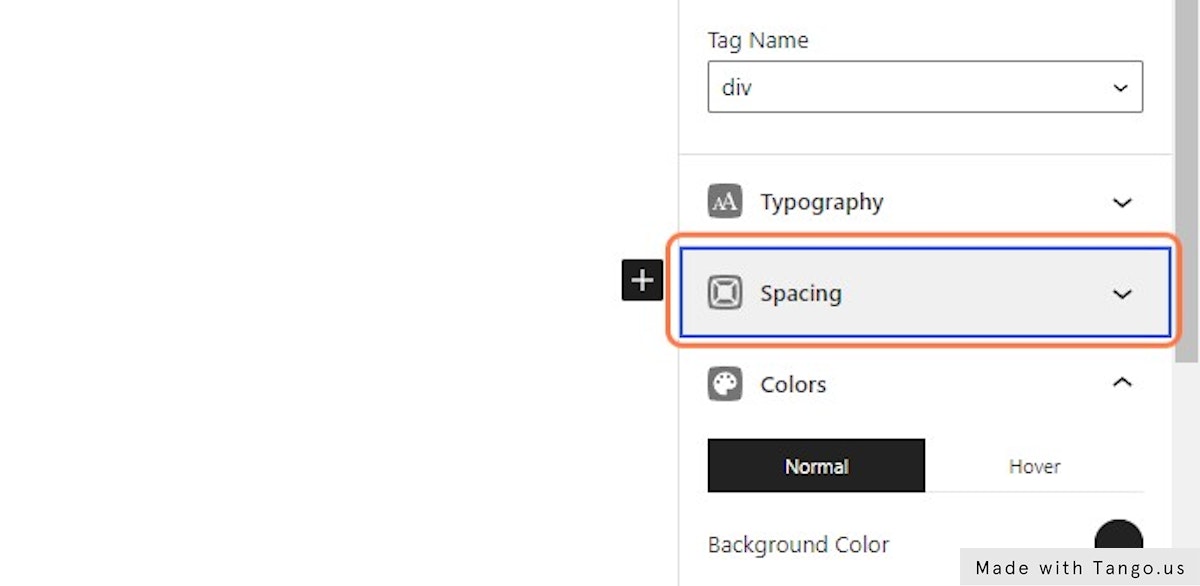
21. Click on Spacing
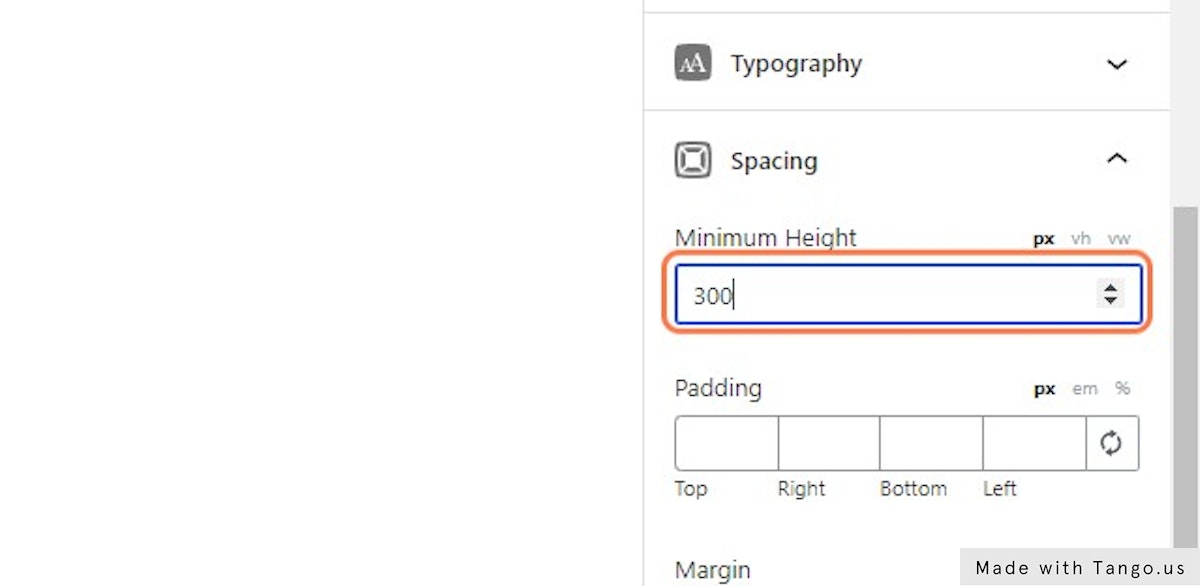
22. Give the container a minimum height
For the demo 300px was enough, but your use case may vary
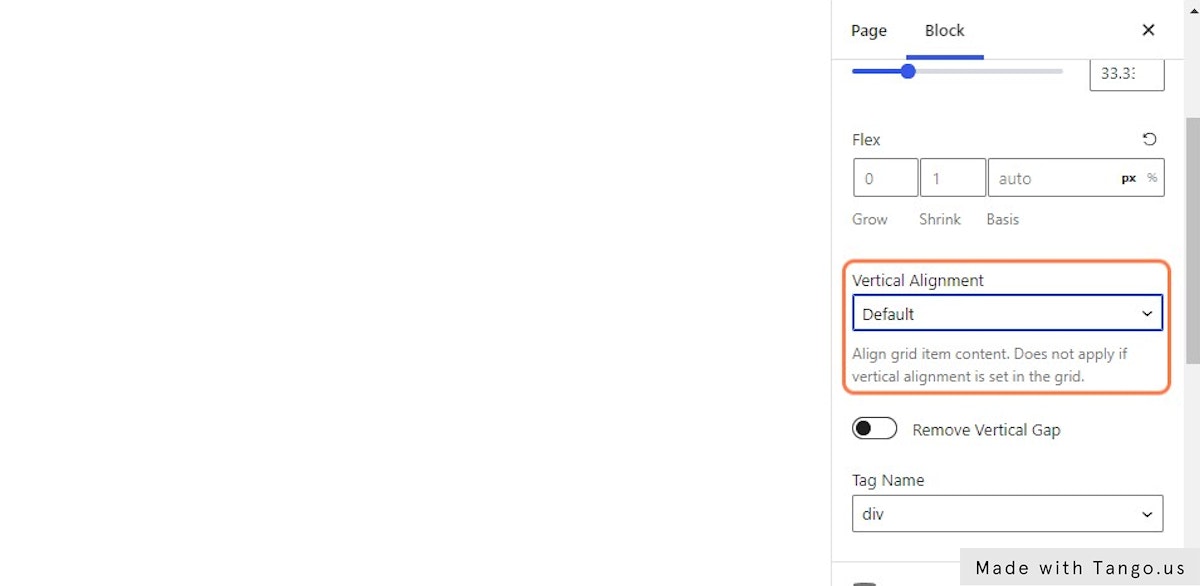
23. Change the Vertical Alignment to “Bottom”
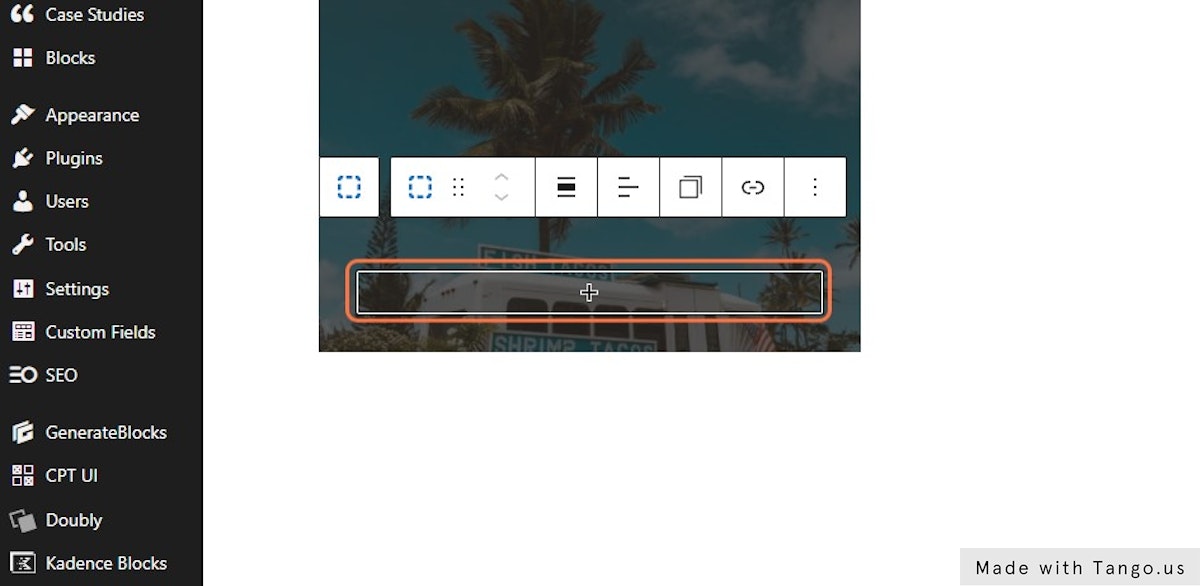
24. Click on Add block
You want to add this block inside of your container with the background
25. Choose Container
26. Give your new container the class of “hc-front”
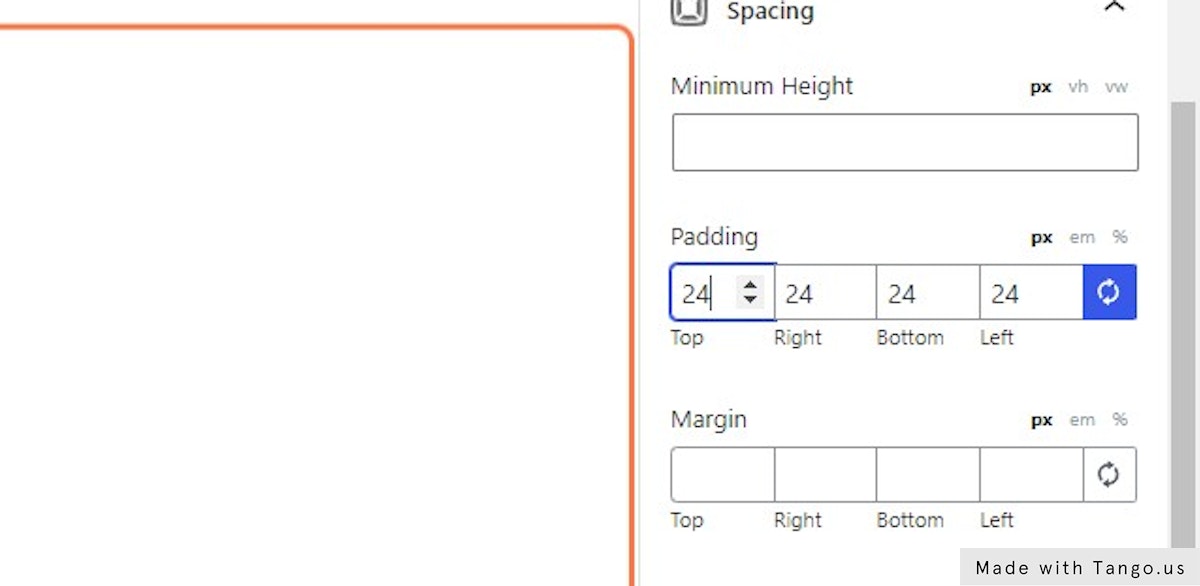
27. Click on Spacing
28. Click on Sync Units
29. Add padding to your container
24px of padding was fine for this demo, but your padding may vary
30. Click on Add block
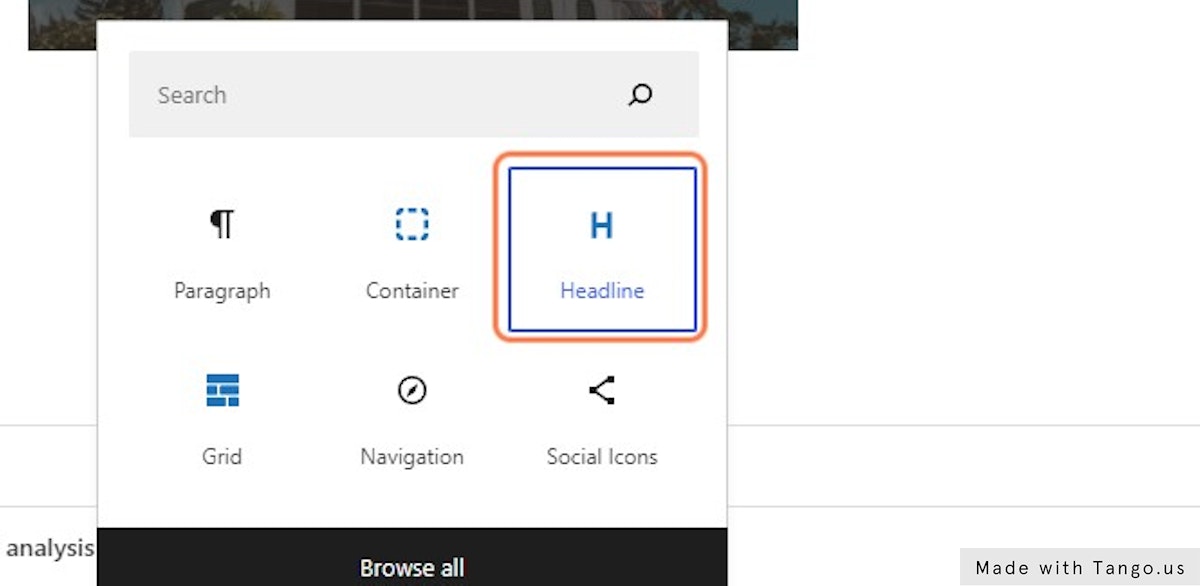
31. Click on Headline
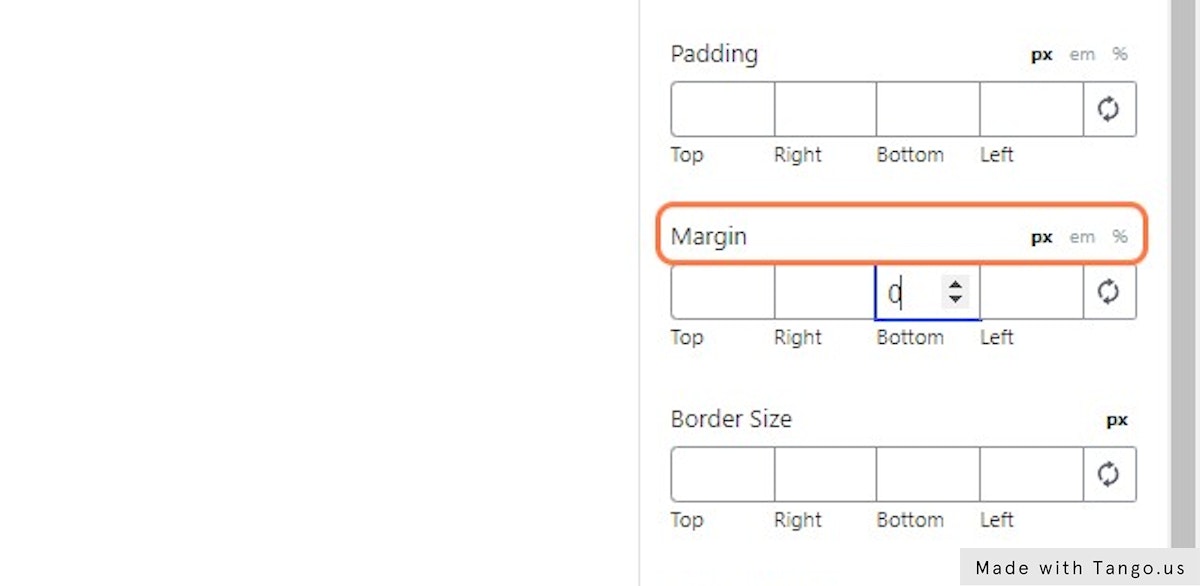
32. Enter the text you want to show on hover
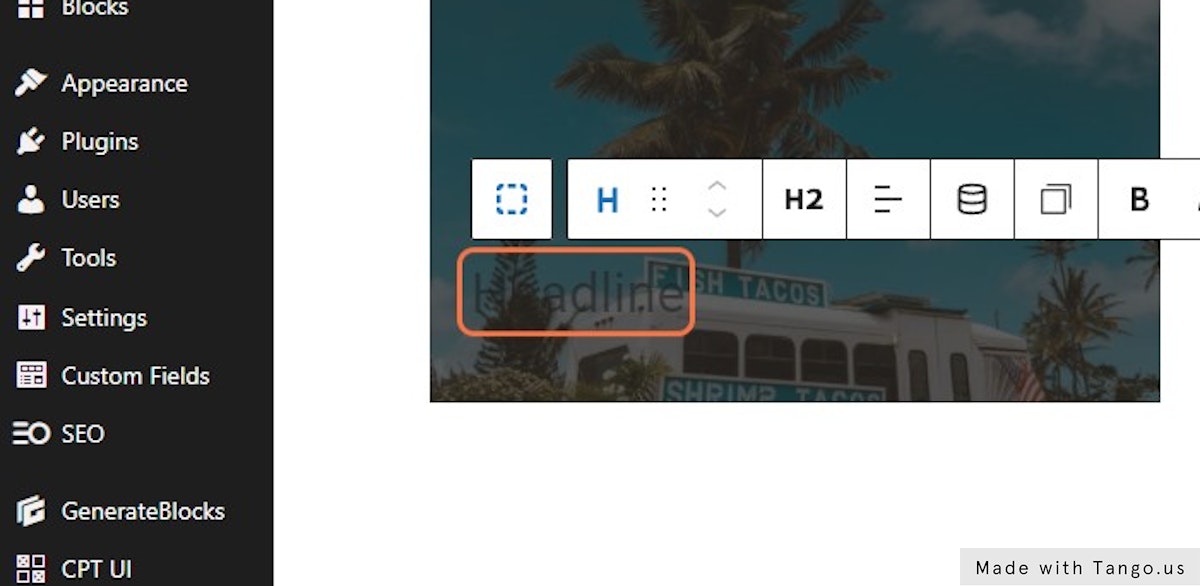
33. Change the tag to whatever is appropriate
For the demo I used a paragraph tag

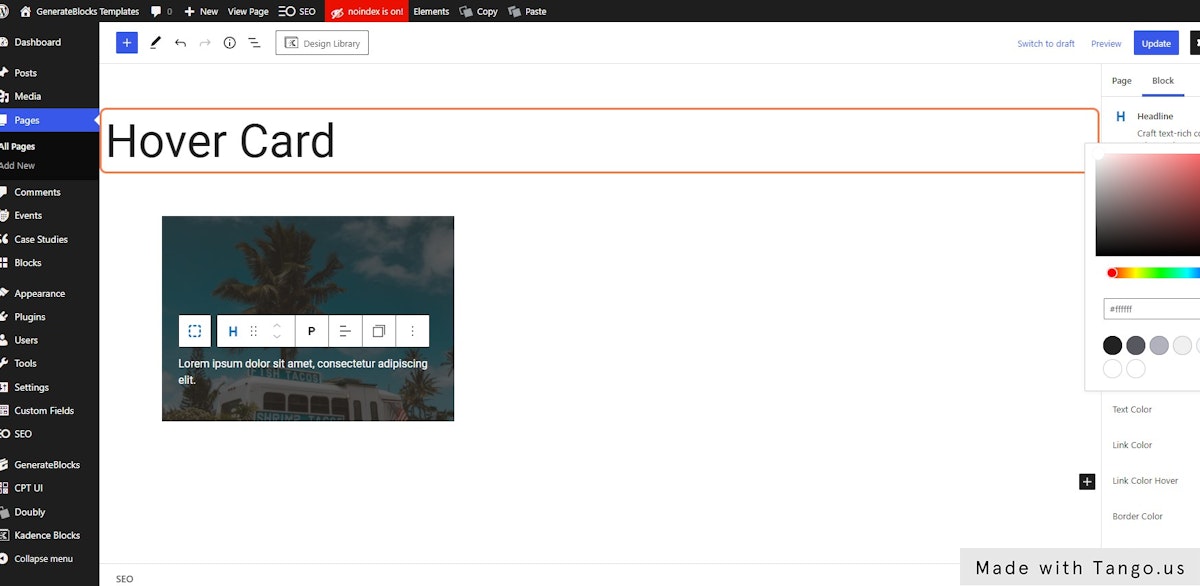
34. Click on Colors
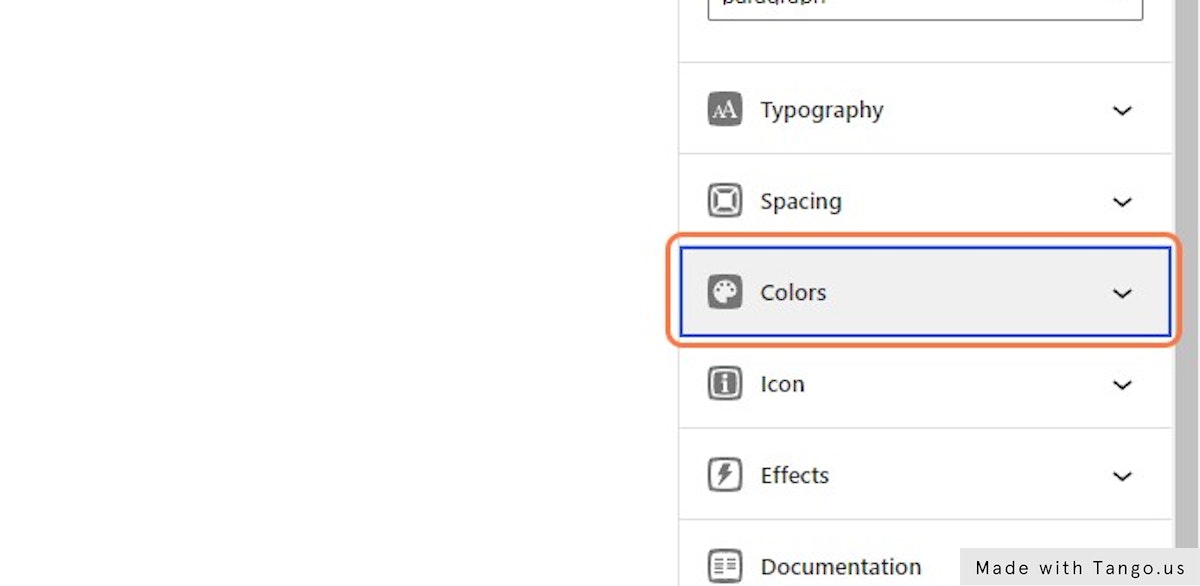
35. Click on the Text Color
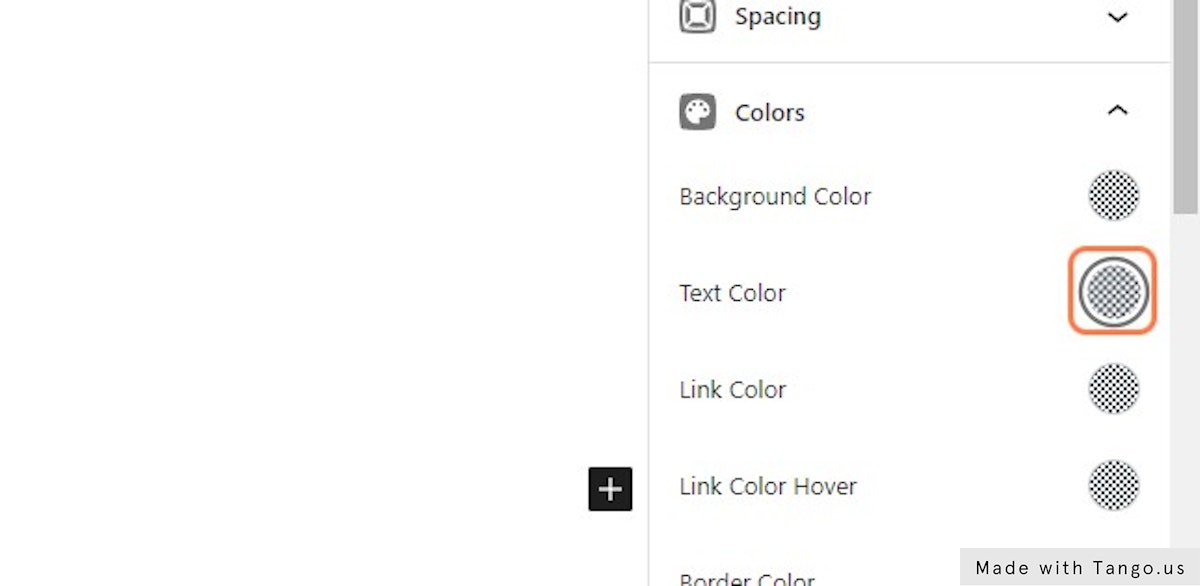
36. Choose a light color
In the demo I used pure white (#ffffff)
37. Click on Spacing

38. Make sure the text doesn’t have any bottom margin
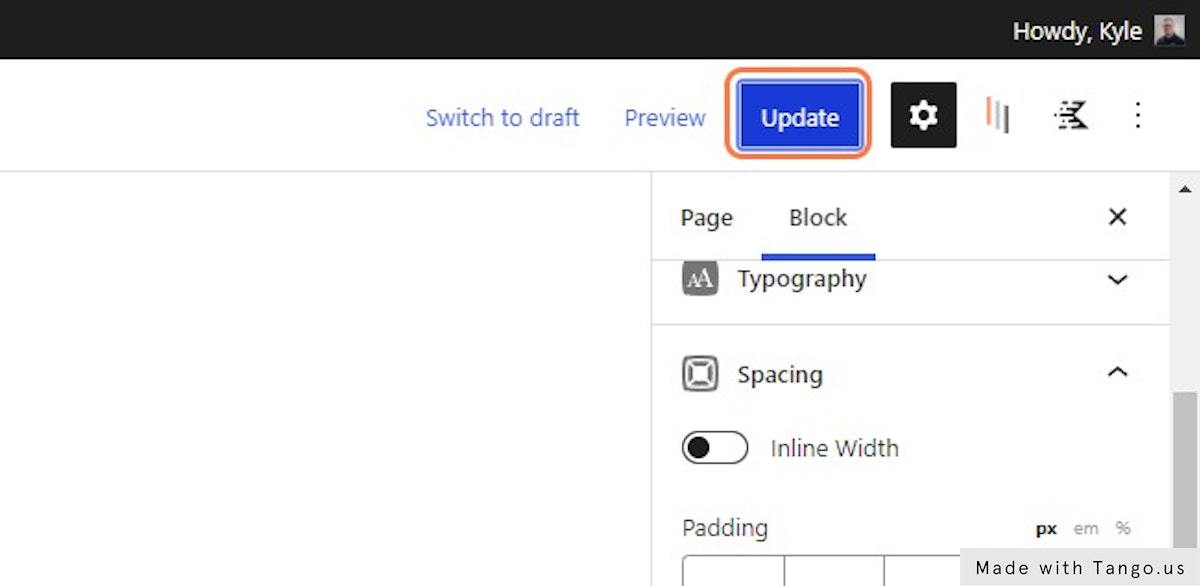
39. Click on Update
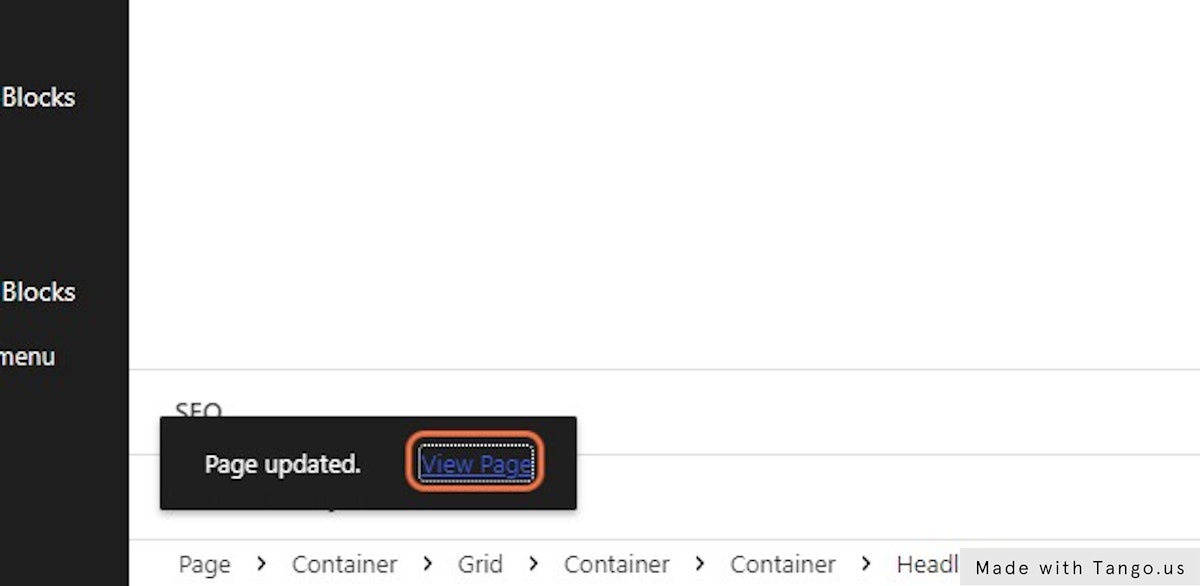
40. Click on View Page
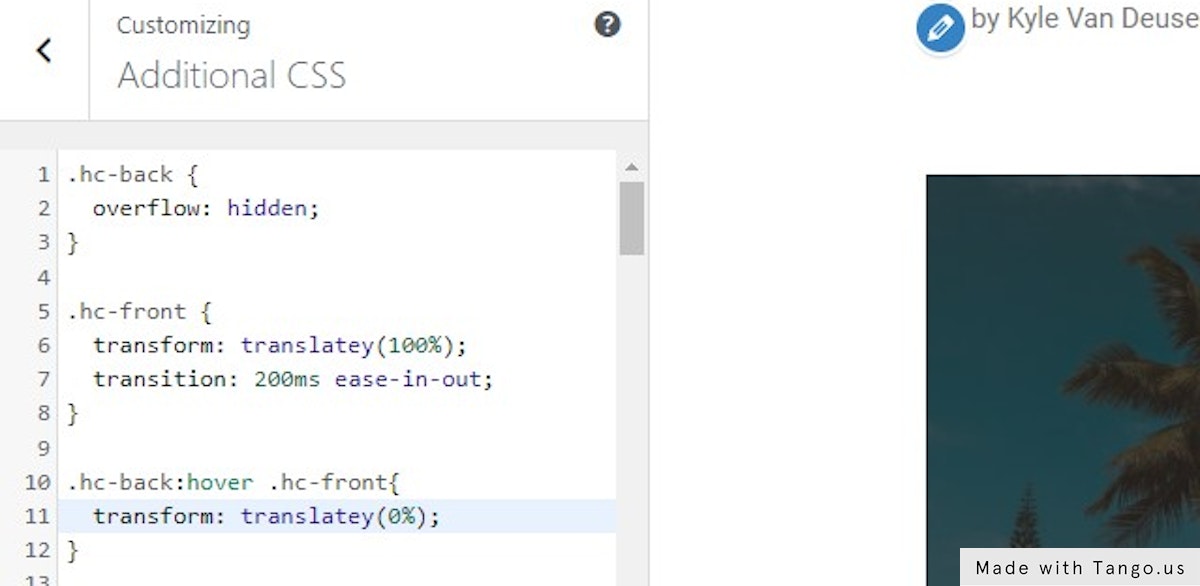
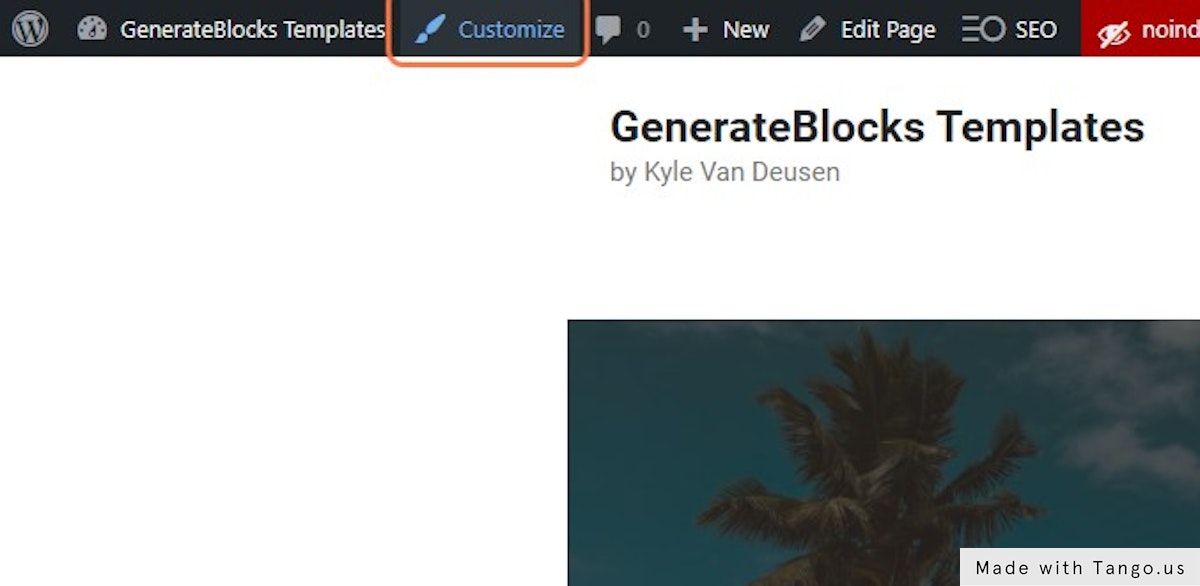
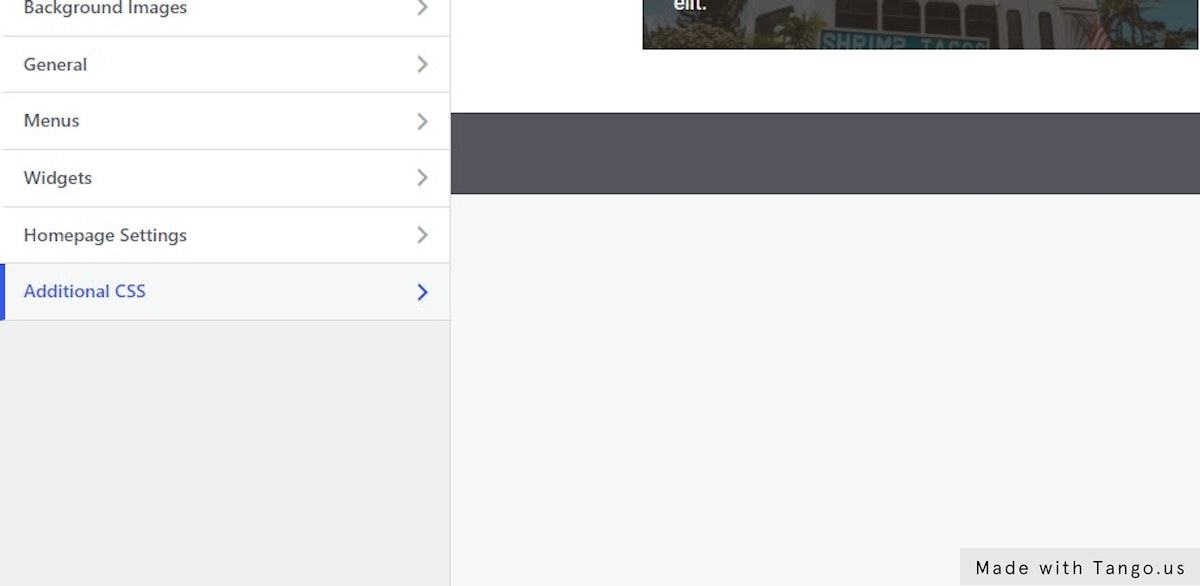
41. Click on Customize
42. Click on Additional CSS…
43. Add the following code
.hc-back {
  overflow: hidden;
}

.hc-front {
  transform: translatey(100%);
  transition: 200ms ease-in-out;
}

.hc-back:hover .hc-front{
  transform: translatey(0%);
}